White-line Styrofoam Prints Art lesson for kids
Mon, April 20, 2020
Making white-line prints using Styrofoam printing plates.
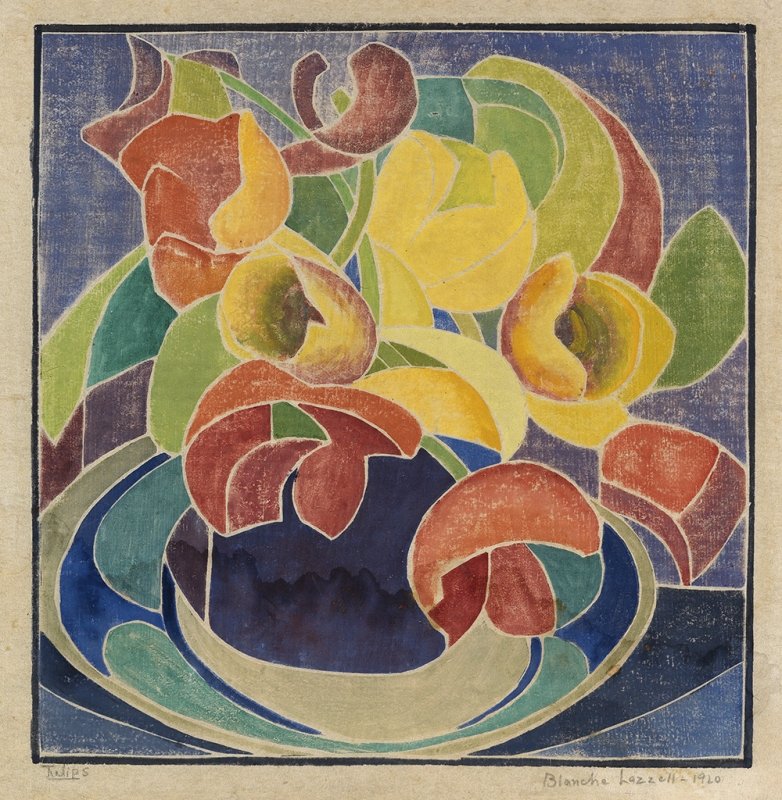
Tulips, 1920 Blanche Lazzell
The white-line print is a relief print in which each color has its own woodblock. Instead of rolling ink over the entire surface, the printmaker paints one area at a time, resulting in a multicolored print. Blanche Lazzell (1878-1956) and a group known as the Provincetown Printers originated this method in 1915.
Relief printing: a method of printmaking where ink is applied to the surface, but not to any recessed areas. The inked areas of the printing plate will transfer ink on to the paper. The recessed areas will be ink-free (white). A printing press is not needed. The back of the paper can be rubbed or pressed by hand with a simple tool like a wooden spoon.
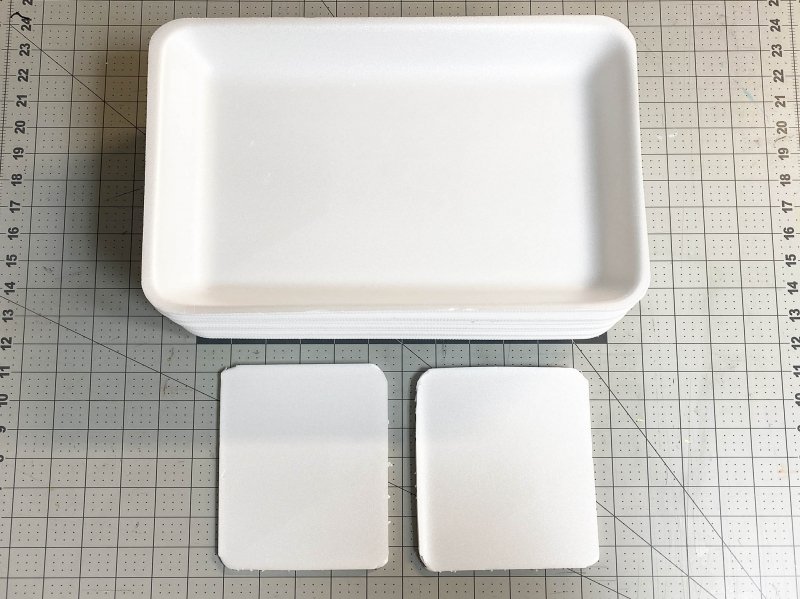
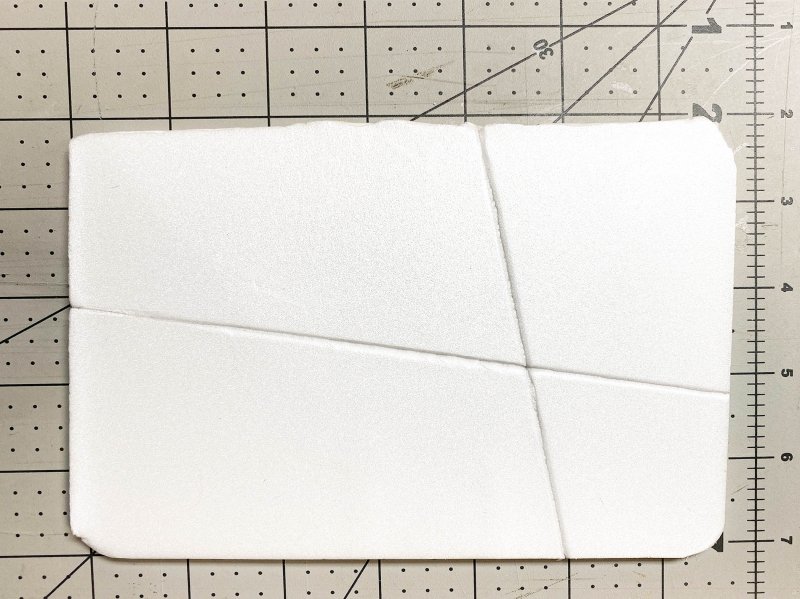
White Styrofoam plates: The manager of the meat department at Stop and Shop generously gave me a stack of meat trays approximately 9" x 12". Any size white food liner will work, however, a tray this size yields two plates approximately 5" x 7". (Don’t use trays that have been in contact with food.) If you need help, ask an adult to cut off the tray edges and round off the corners of each plate. I used a pair of scissors.
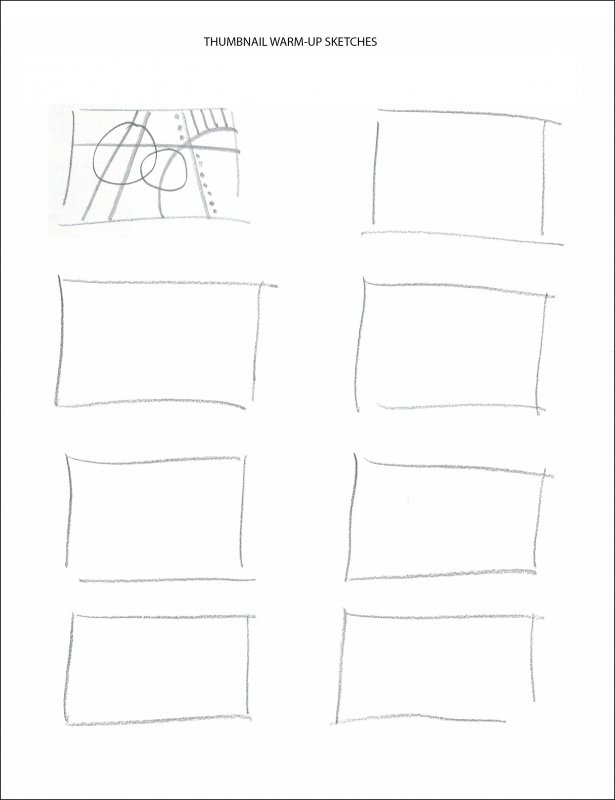
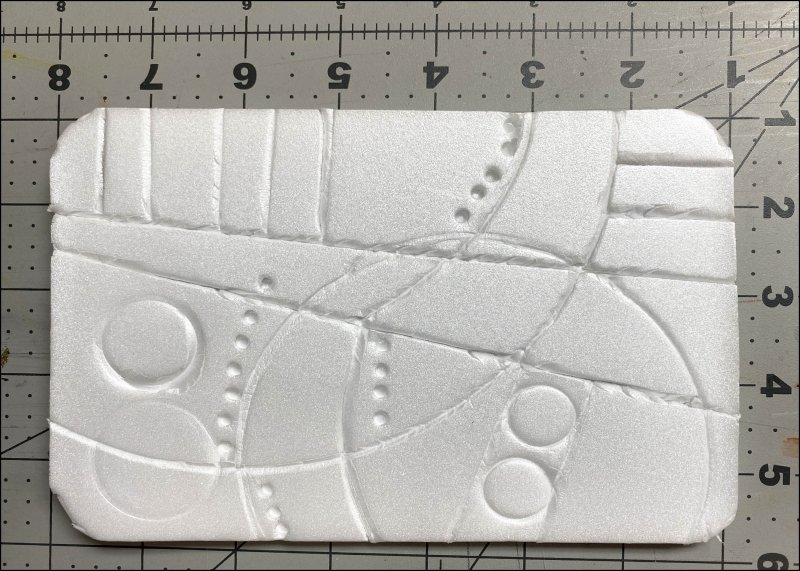
Step #1: Thumbnail warm-up sketches: Use straight lines, curved lines, circles, dots and intersecting lines to make an abstract composition. The direction of final prints will be IN REVERSE left-right…if you decide to use letters, they must be written backwards. Work quickly. The idea is to draw whatever comes into your head!
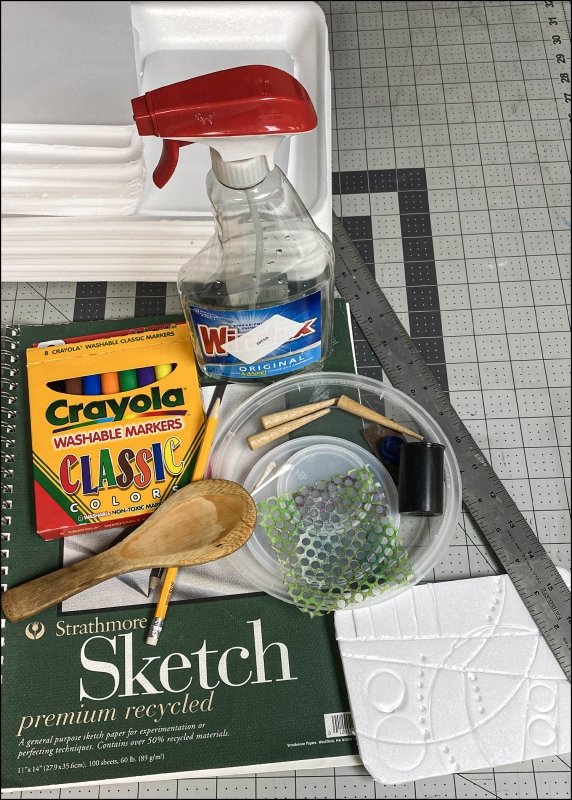
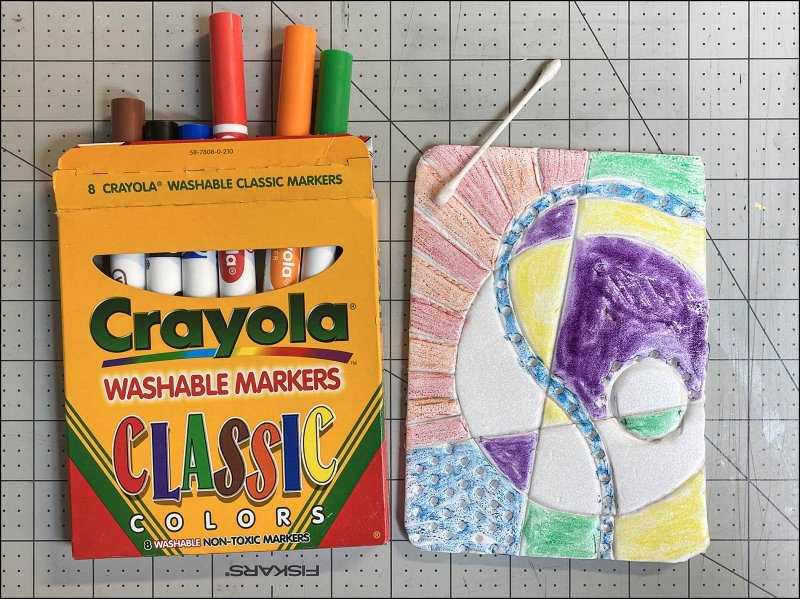
Materials: White Styrofoam plates, pencil, assorted plastic lids or other objects to trace circles, ruler or any straight edge such as a piece of cardboard, objects to make dots (pointed end of pencil works great, golf tees, etc.) water soluble colored markers, wooden spoon, Windex or any spray bottle filled with water, white drawing paper, paper towels, Q-tips. Ocean State Job Lot has inexpensive sketching pads. Copy paper is not strong enough.
There is no right or wrong way to design your plate!!!! I suggest these steps for your first composition…then you are on you own!
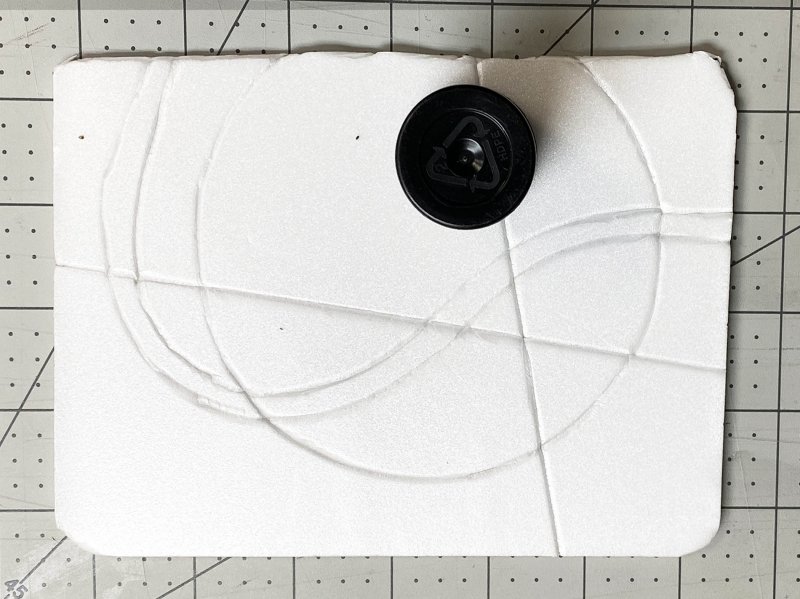
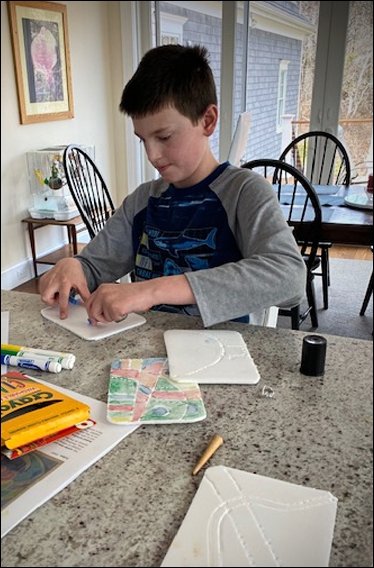
Step #2: Straight lines: Use a pencil to draw one, two, or more straight lines pressing into the Styrofoam. Lines may or may not intersect.
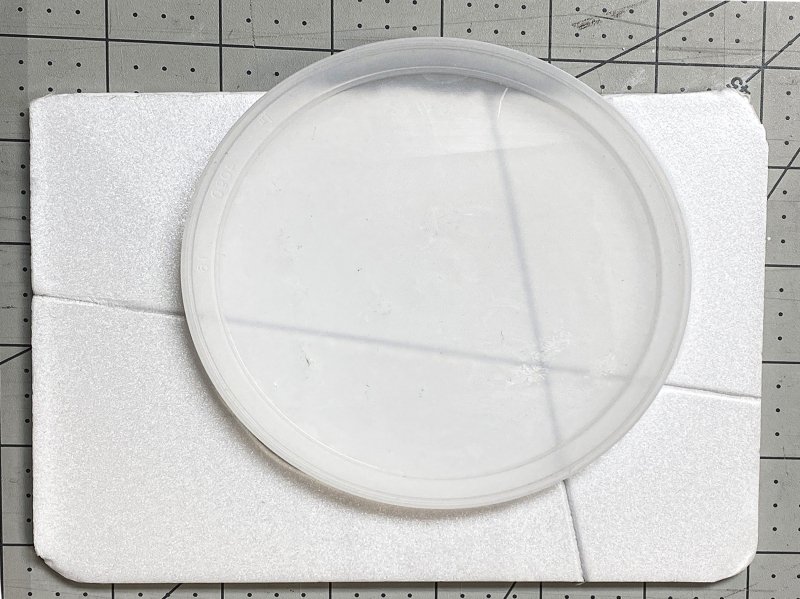
Step #3: Use lids or other round objects to trace circles.
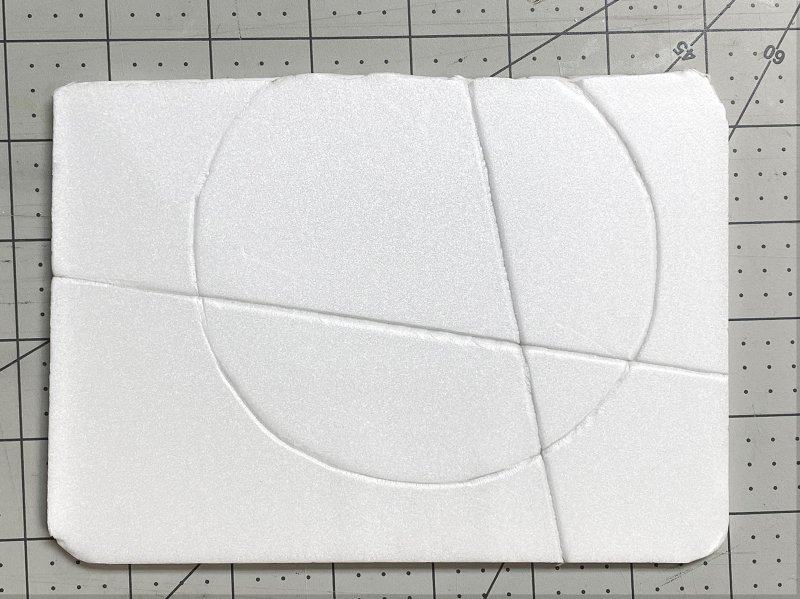
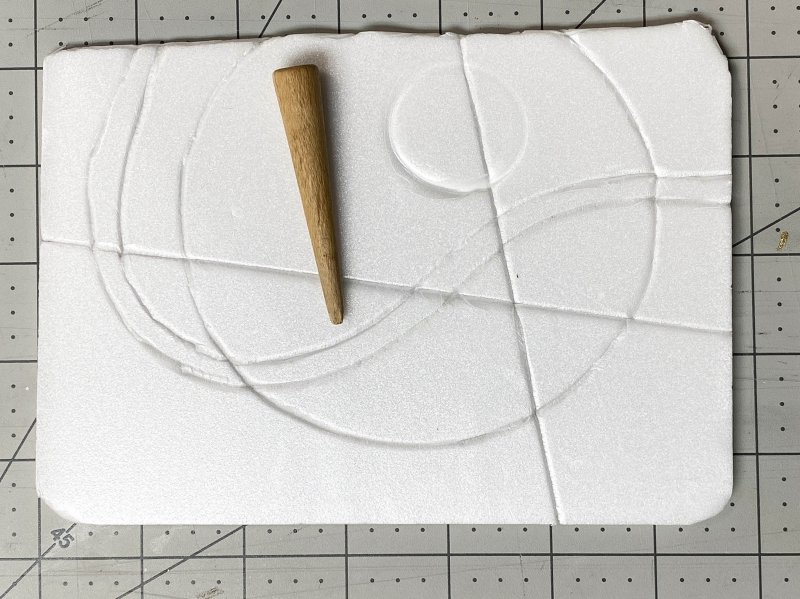
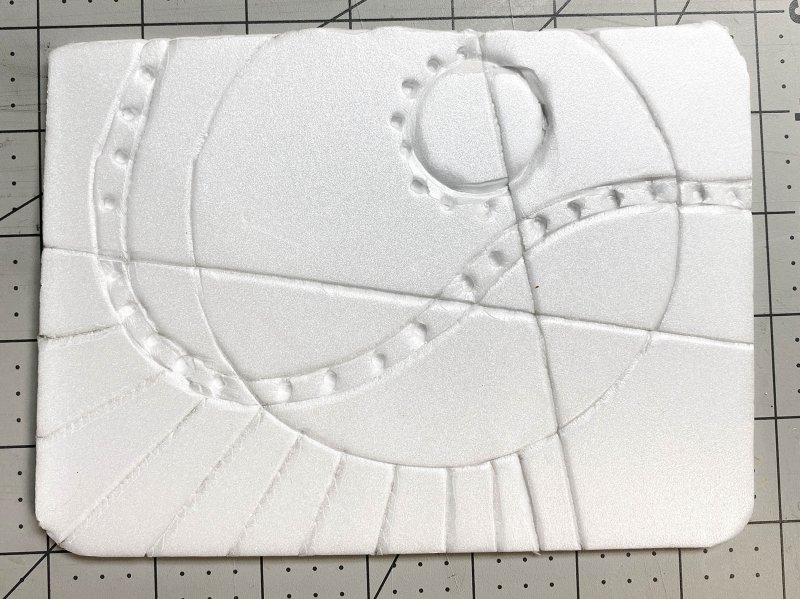
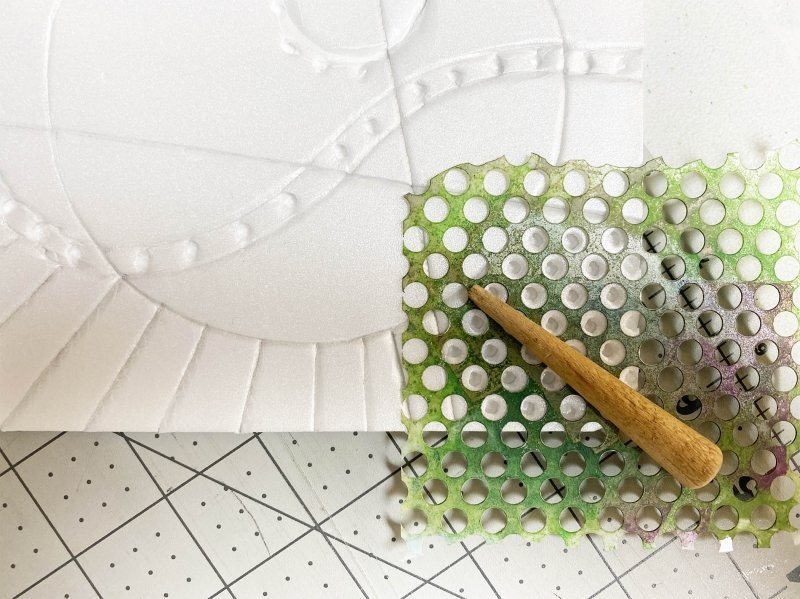
Step #4: Add curved lines, more circles, and dots and straight lines. You can add dots in a grid pattern by using a stencil.
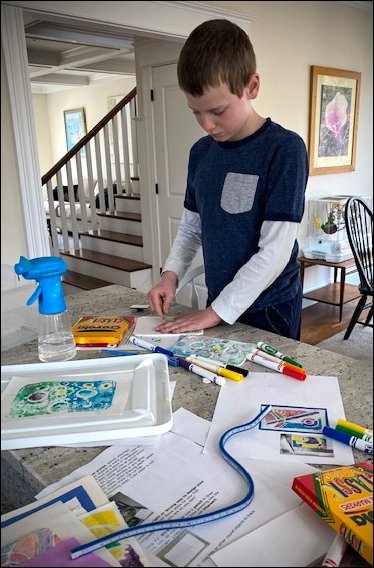
Step #5: Coloring the plate. Use water soluble markers to color sections of the plate. Q-tips are handy clean up tools. Consider leaving some areas white. Coat only the raised surfaces.
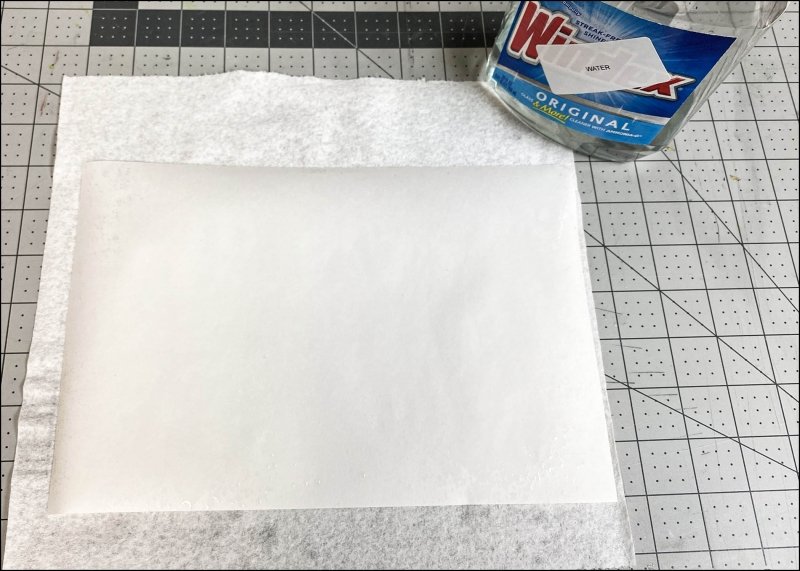
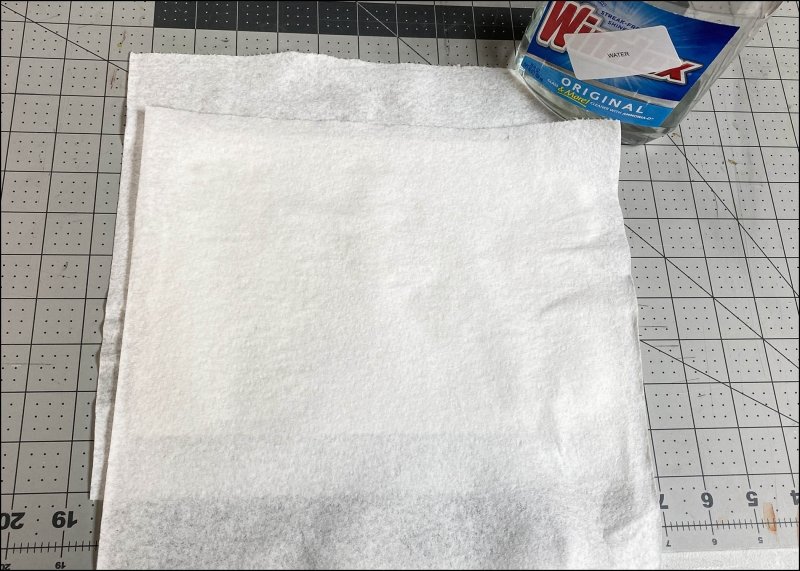
Step #6: Preparing paper. Make sure your fingers are clean. Gently spray your print paper with water and blot with a paper towel. The dampened paper allows water soluble colors to release from the plate and transfer to your paper. If your paper is too wet, colors will bleed. Try different papers. Copy paper is not strong enough to be dampened. Sprayed paper. Blotted paper.
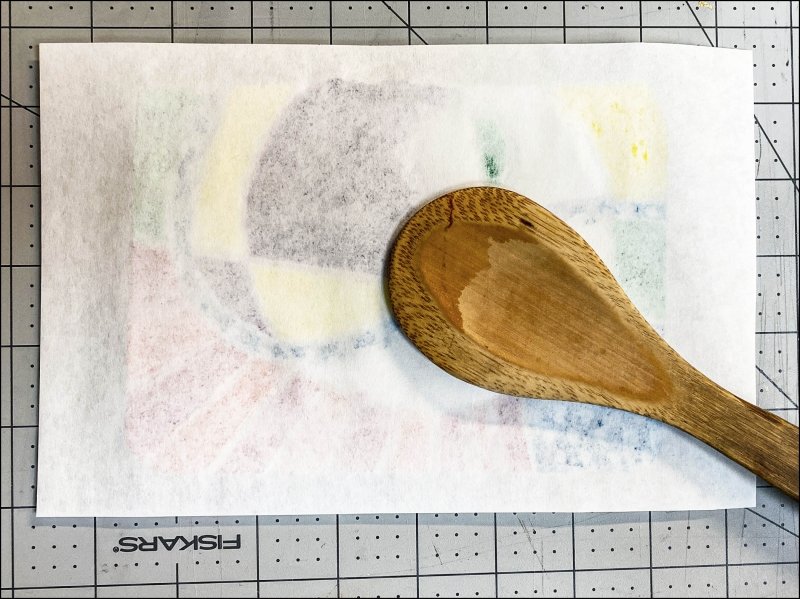
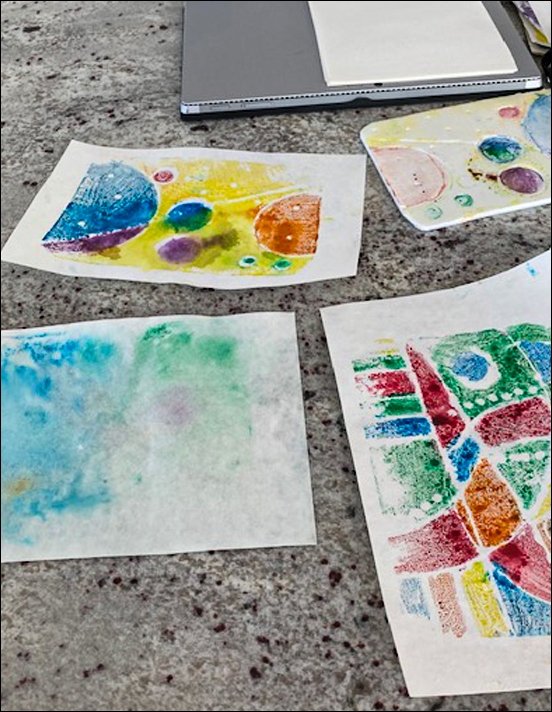
Step #7: Pulling a print: Center paper over the plate. Rub the back of the paper with a spoon, making sure each section is entirely rubbed to transfer all the color and to eliminate “spoon strokes.” Keep one hand on your print if you peek at the printed side. Don’t lift paper off the plate until you have completely transferred all color.
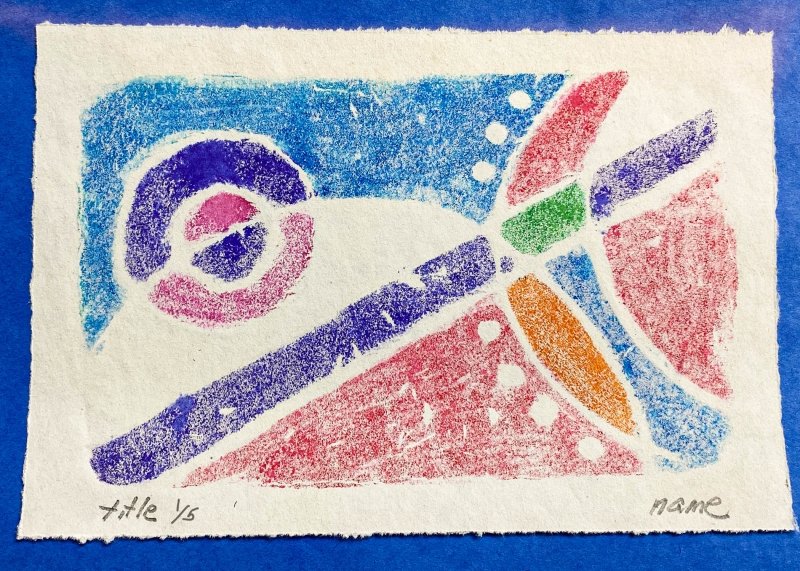
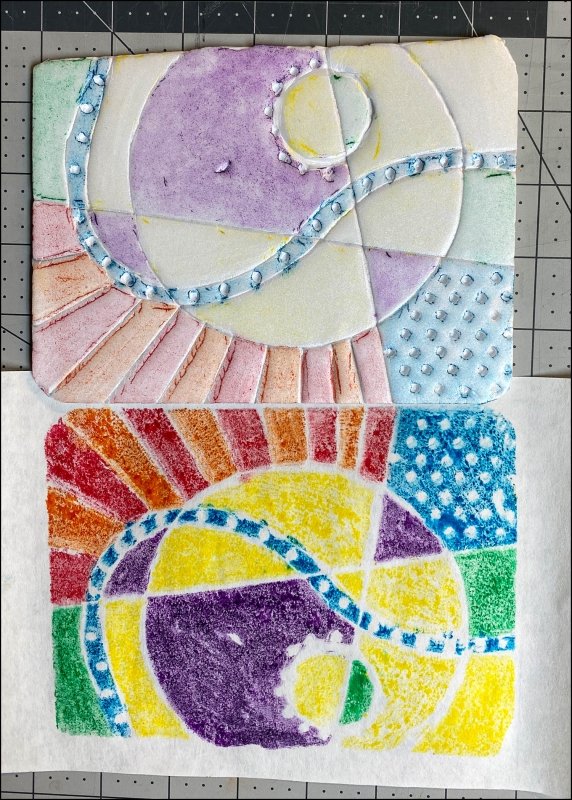
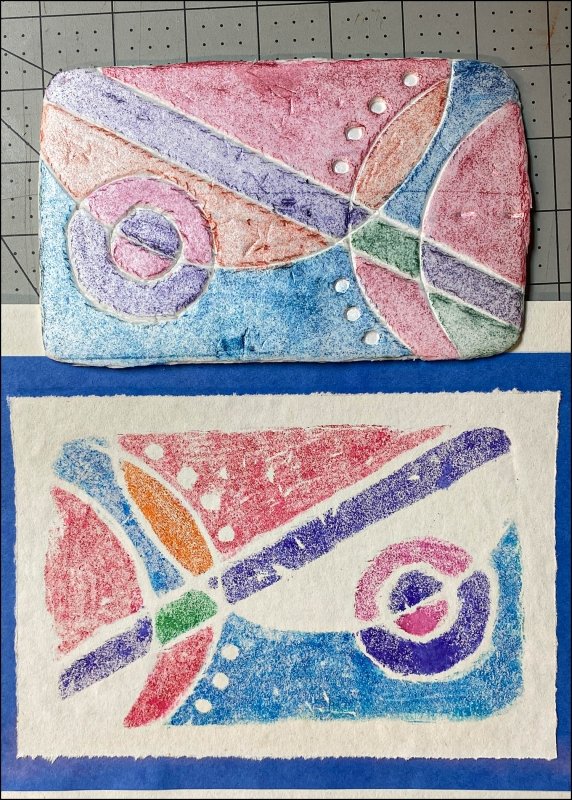
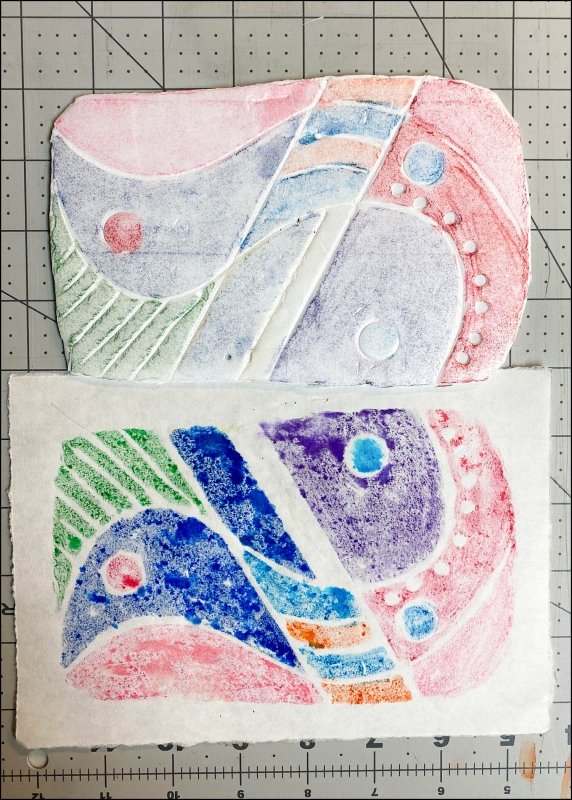
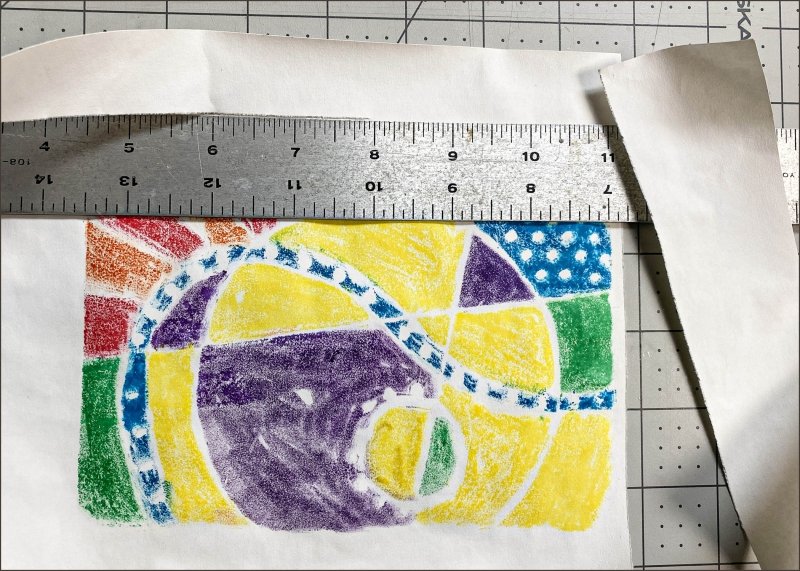
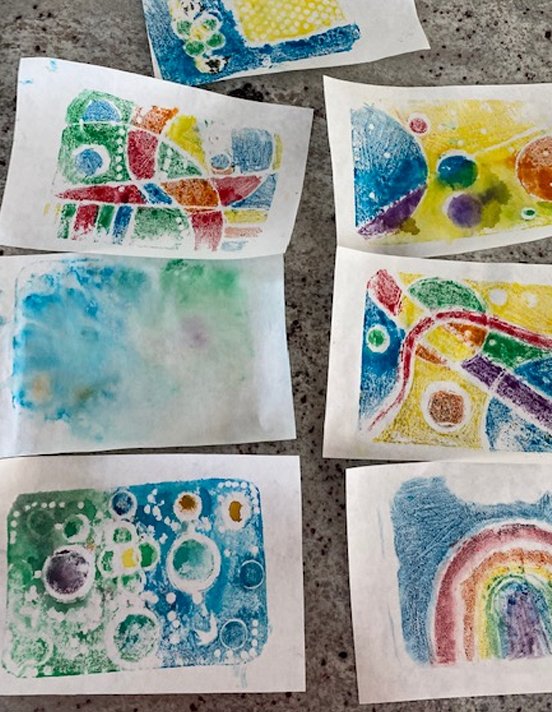
Step #8: Final prints: Plates can be recolored and printed again. For an edition of prints, all colors are the same. Note how print image is in reverse.
Step #9: Title and sign your print. Prints are usually signed in pencil and numbered. If you pulled 5 prints, they would be numbered like this: 1/5, 2/5, 3/5, 4/5, and 5/5. You might trim you print and tape it to a colored paper mat. The edge of the print has a deckled edge. Tear the paper while pulling toward a ruler.